|
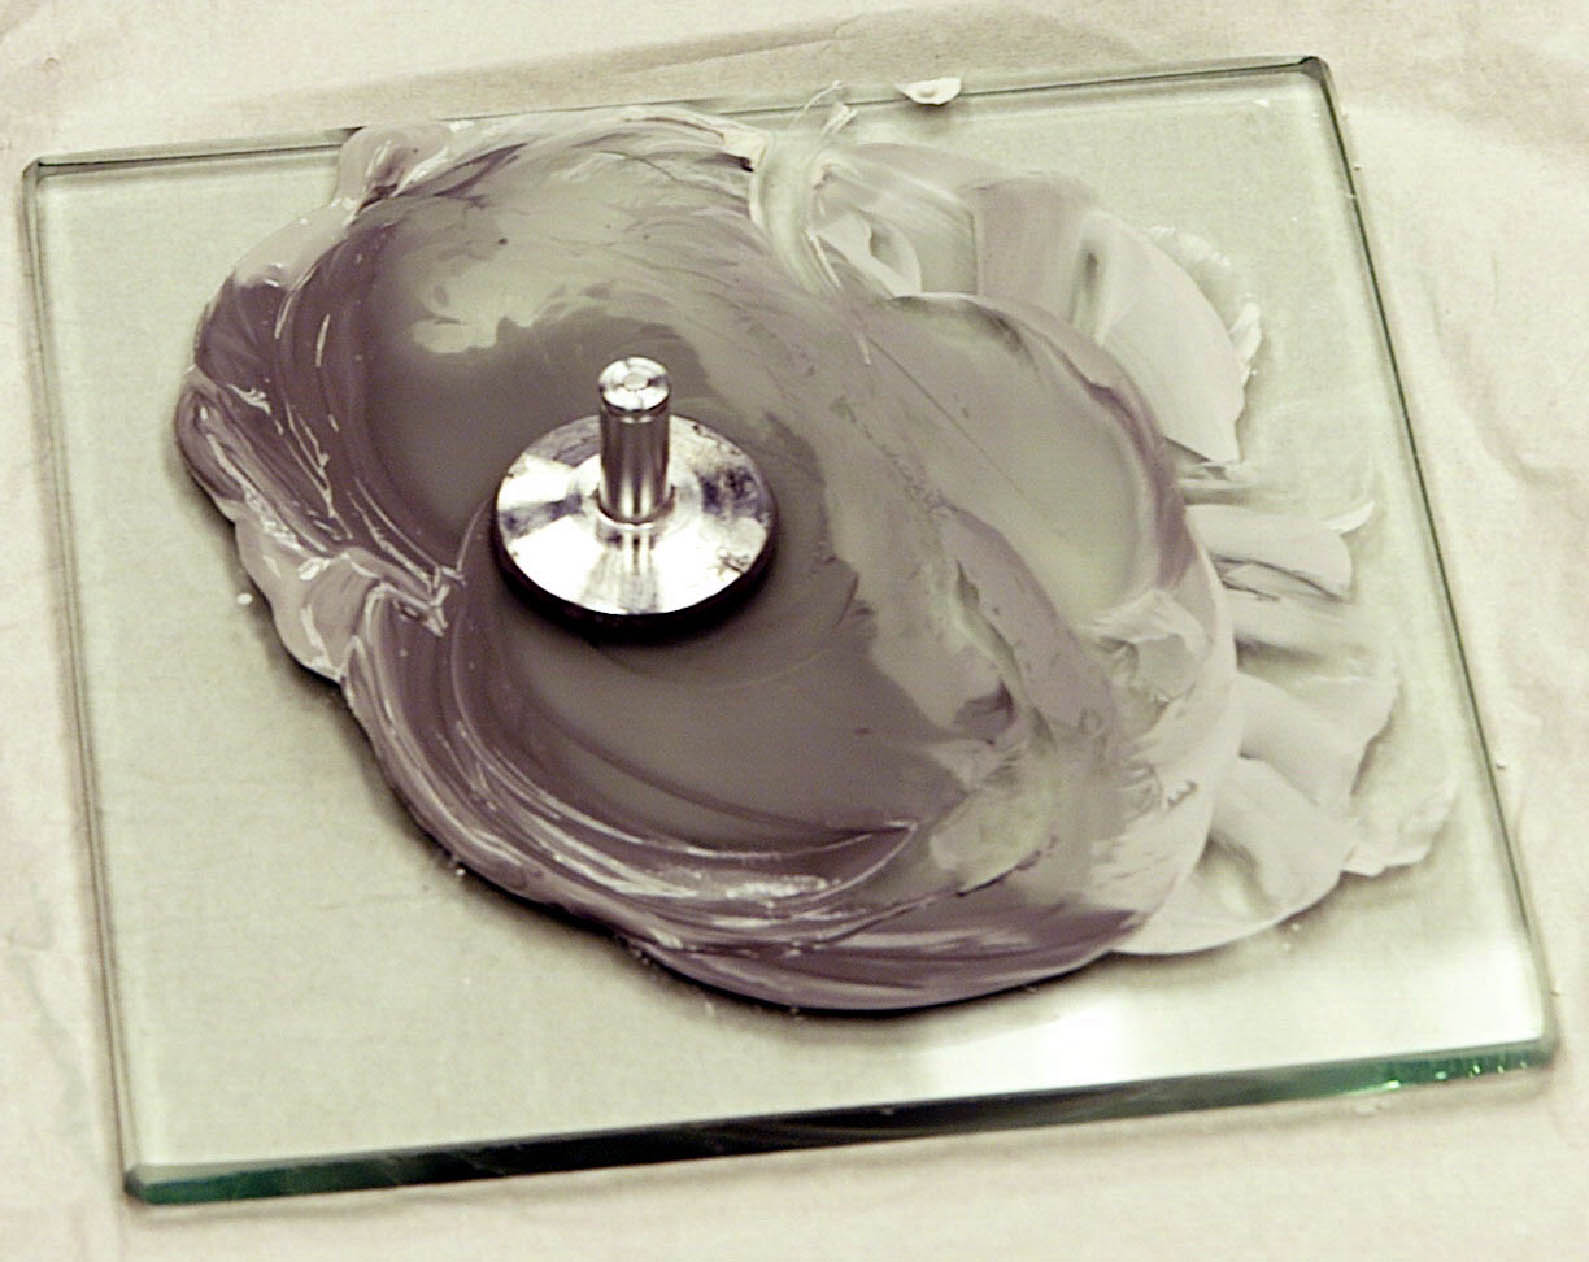
mirror. There should be no marker color or shiny tool marks remaining from the original
machining process. The surface of the mirror should have a uniform dull gray texture. If,
however, there are still some shiny marks or color remaining, repeat step 2 until
they are completely gone. Then wash your #1 Starshine mirror in running tap water, dry
it with a paper towel, and set it aside, tilted stem down and face up, on a clean paper
towel. Wash your hands with soap and water to get rid of the paste and dry them.
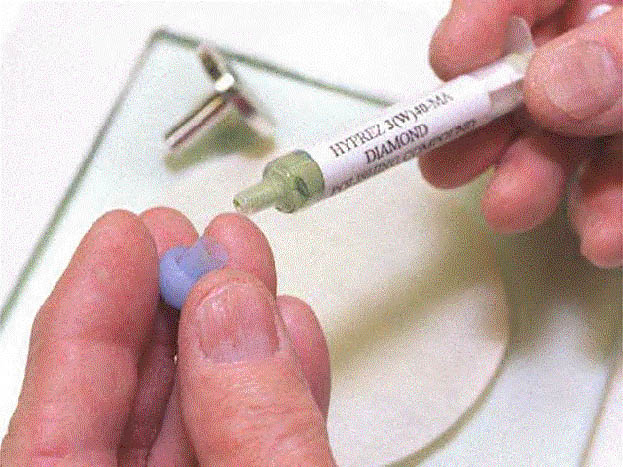
Add a few drops of aluminum oxide slurry to the puddle that you used for mirror #1, and repeat steps 2 and 3 with your second and third Starshine mirrors. After you have finished grinding and examining your second and third mirrors, wash your hands, your aluminum mirrors and the glass backing plate in running tap water. Be especially careful to remove all the slurry that may be sticking to the edges of the mirror or the plate. Then dry the mirrors, the plate and your hands with a clean paper towel. Congratulations!! You have now completed the grinding phase of the overall process. You are ready to move on to the polishing phase, which is much more delicate than the grinding phase and requires special attention to detail and cleanliness to keep your finished mirror from winding up with scratches and dimples on its surface.
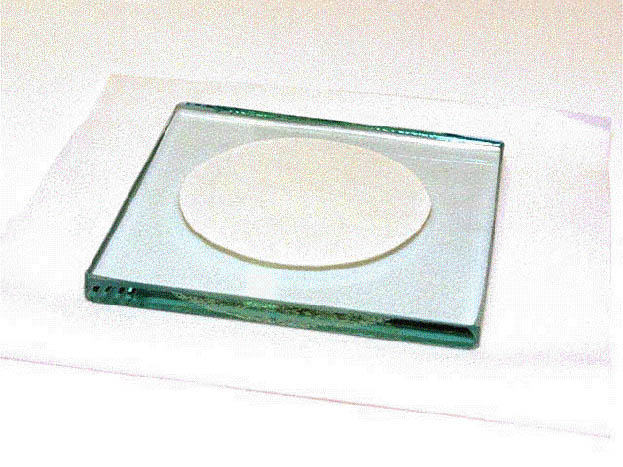
You will notice that the grinding process has made a dull spot on the glass plate. This is normal, because the process frosts the glass as you grind your three mirrors. However, for the polishing steps that you'll be performing next, you'll need to turn the glass plate over and use the side of the glass that is still shiny.
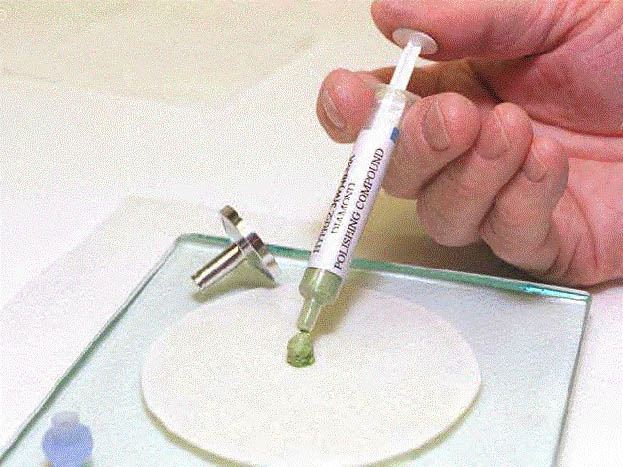
PHASE TWO - MIRROR POLISHING
|