|
You'll never to able to get every tiny scratch polished away, of course, but please do the very best that you can, since the brightness of the sunlight reflecting from this mirror in orbit is dependent upon how well you do your job. When you are satisfied with the result, wash your mirror with running tap water, dry it very carefully with a piece of lint-free lens tissue and set it aside, tilted stem down and face up, on a piece of paper towel. Do not touch the mirror face with your fingers after this point; the oil from your skin will contaminate the polished aluminum. A piece of lens tissue and the face of your inspection flat are the only items that should touch the mirror face from now on.
Repeat steps 12 and 13 for your second and third Starshine Mirrors, using the same circle of Kempad polishing cloth and Hyprez 1 micron polishing compound as you used for your #1 mirror. You shouldn't need to add any more polishing compound, but you can, if necessary. Do not peel the circle of Kempad polishing cloth off the glass backing plate until after you have inspected all three mirrors in steps 14 and 15, described below, just in case you need to do some additional polishing.
PHASE THREE - MIRROR FLATNESS TESTING
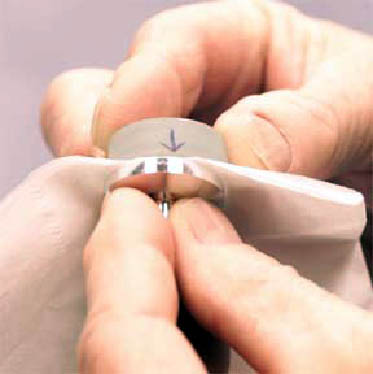
14 Take the small glass optical inspection flat out of the slit in the foam insert in the mirror return box, wash it in running water, dry it with a piece of lint free lens tissue, and dry your hands with a paper towel. Pick up one of your polished Starshine mirrors and hold the mirror with its polished face up. Have a second member of your team lay a
|